
Creating custom packaging is not simply a matter of placing a logo on
a box. The structure, dimensions, materials, artwork, finishes and
delivery plan all affect how the packaging looks, protects the product
and fits your budget.
The good news is that the process becomes much easier when you make
the decisions in the right order. This guide explains how to make custom
packaging boxes in eight practical steps, including what information to
prepare, what to check during sampling and how to avoid common
mistakes.
Quick
answer: What is the custom packaging box process?
To create a custom packaging box, first define the product
requirements and choose a suitable box structure. Then confirm the
dimensions, material and printing options, prepare a dieline and
artwork, make a physical sample, approve the final specifications and
arrange production and delivery. A clear specification sheet and an
approved sample help keep the project consistent.
Before you
start: Prepare a simple packaging brief
You do not need a finished design to request a packaging quotation.
However, providing the following information will make the first
recommendation and estimate much more accurate:
- Product type and intended use
- Product dimensions and weight
- Desired box style or reference photos
- Estimated order quantity
- Number of artwork designs or SKUs
- Target market and shipping method
- Preferred material, printing or finish
- Required delivery date and destination
- Target budget, if available
If some details are not yet decided, tell your packaging partner
which factors are fixed and which are flexible. For example, your box
dimensions may be fixed while the paper type and finish can be adjusted
to meet the budget.
Step 1: Define
what the packaging needs to do
Start with the product, not the decoration. A box for a glass
skincare bottle has different requirements from a folding carton for
apparel accessories or a corrugated mailer for e-commerce shipping.
Ask these questions:
- Does the box need to protect a fragile or heavy product?
- Will it be displayed on a retail shelf or shipped directly to
customers? - Does the product require an insert to prevent movement?
- Will customers reuse the packaging?
- Are there labeling, barcode or regulatory requirements?
- Does the packaging need to fit into an outer shipping carton?
Write down the three most important goals. They might be protection,
premium presentation and lower shipping cost. These priorities will
guide every later decision.
Step 2: Choose the right box
style
The box structure affects cost, assembly time, protection and the
unboxing experience. Common options include:
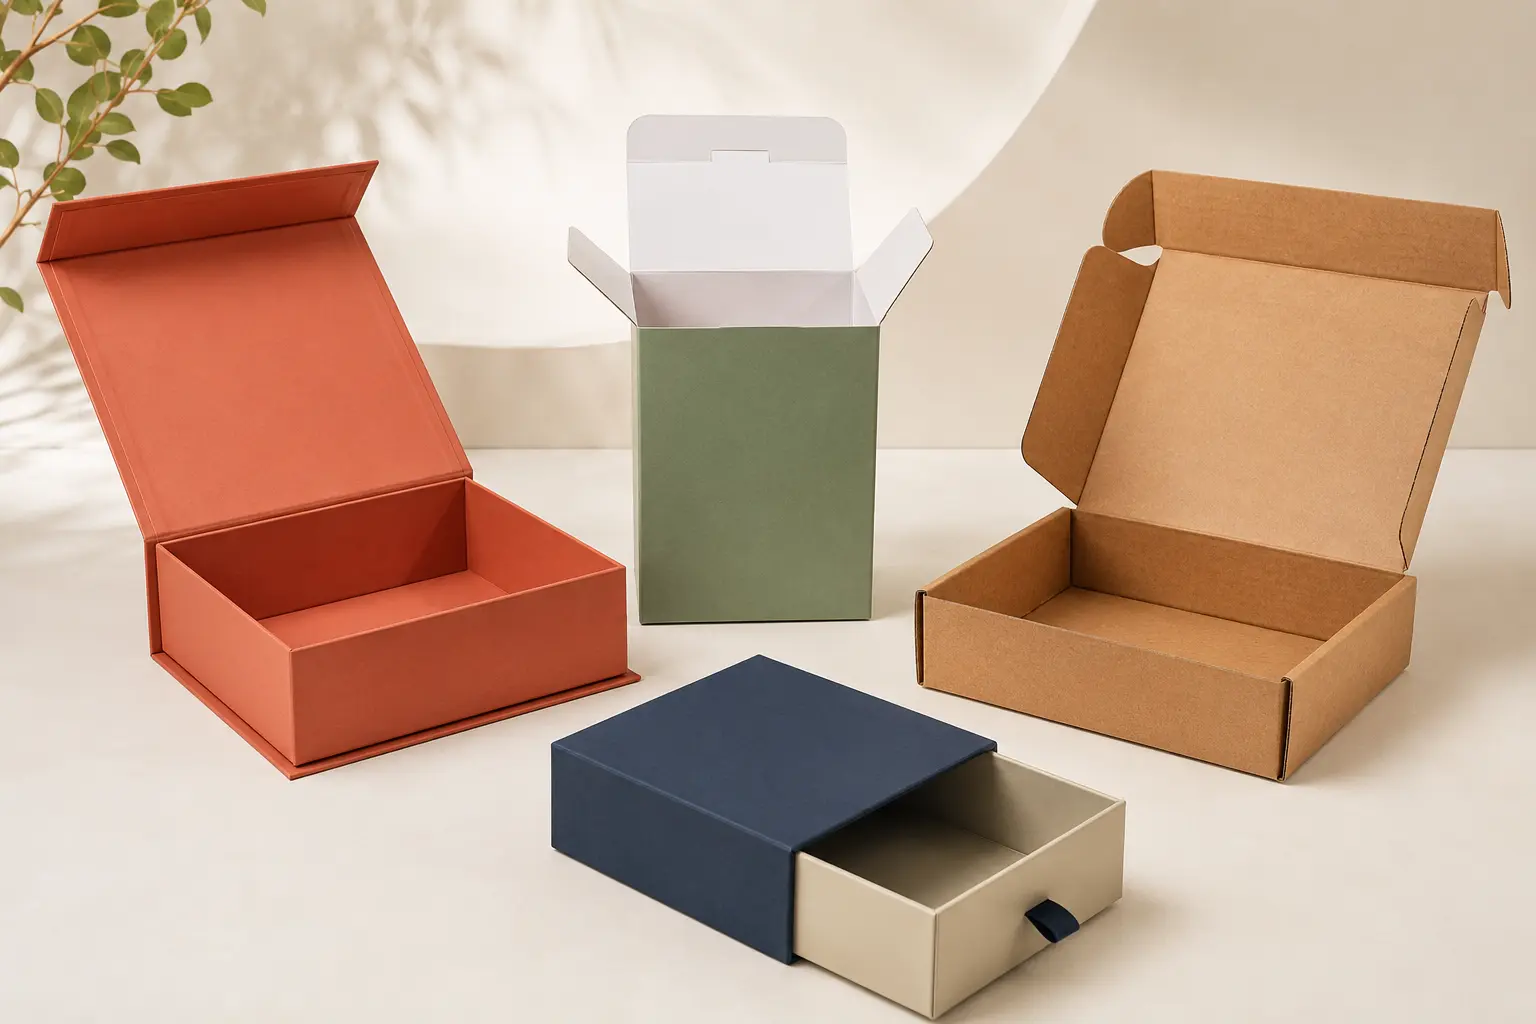
Folding cartons
Folding cartons are lightweight and space-efficient. They are
commonly used for cosmetics, skincare, food supplements and small retail
products. They are delivered flat and usually require assembly.
Rigid boxes
Rigid boxes provide a premium appearance and stronger presentation.
Popular formats include two-piece lid-and-base boxes, magnetic closure
boxes and drawer boxes. They are often used for gift sets, jewelry,
cosmetics and luxury products.
Corrugated mailer boxes
Corrugated mailers offer better protection for e-commerce delivery.
They can be printed inside and outside and may reduce the need for a
separate shipping box, depending on the product and transport
conditions.
Paper bags and supporting
packaging
Paper bags, sleeves, inserts, tissue paper and cards can be combined
with the main box to create a complete packaging system.
Do not choose a structure based only on appearance. Consider storage
space, packing speed, shipping weight and how the customer will open
it.
Step
3: Measure the product and calculate the internal size
Accurate dimensions are essential. Measure the product at its widest,
longest and highest points. If several items will be packed together,
arrange them in the intended position before measuring.
Use this basic method:
- Measure the product in millimeters.
- Add space for any insert, protective wrap or instruction
booklet. - Add a small practical allowance so the product can be packed and
removed without excessive movement. - Confirm whether the dimensions refer to the inside or outside of the
box.
For irregular, fragile or expensive products, sending a physical
product sample is often the safest way to confirm fit. A paper mock-up
or blank structural sample can also identify dimension problems before
printed sampling.
Step
4: Select materials that match the product and budget
Material choice influences strength, print quality, appearance,
sustainability and cost.
Typical options include:
- Paperboard: Suitable for folding cartons and
lightweight retail packaging. - Greyboard wrapped with printed paper: Common for
rigid boxes and premium gift packaging. - Corrugated board: Used for mailers and packaging
that requires better compression and impact protection. - Kraft paper: Creates a natural appearance and can
work well with simple printing. - Specialty paper: Adds texture or color but may
affect print results and cost.
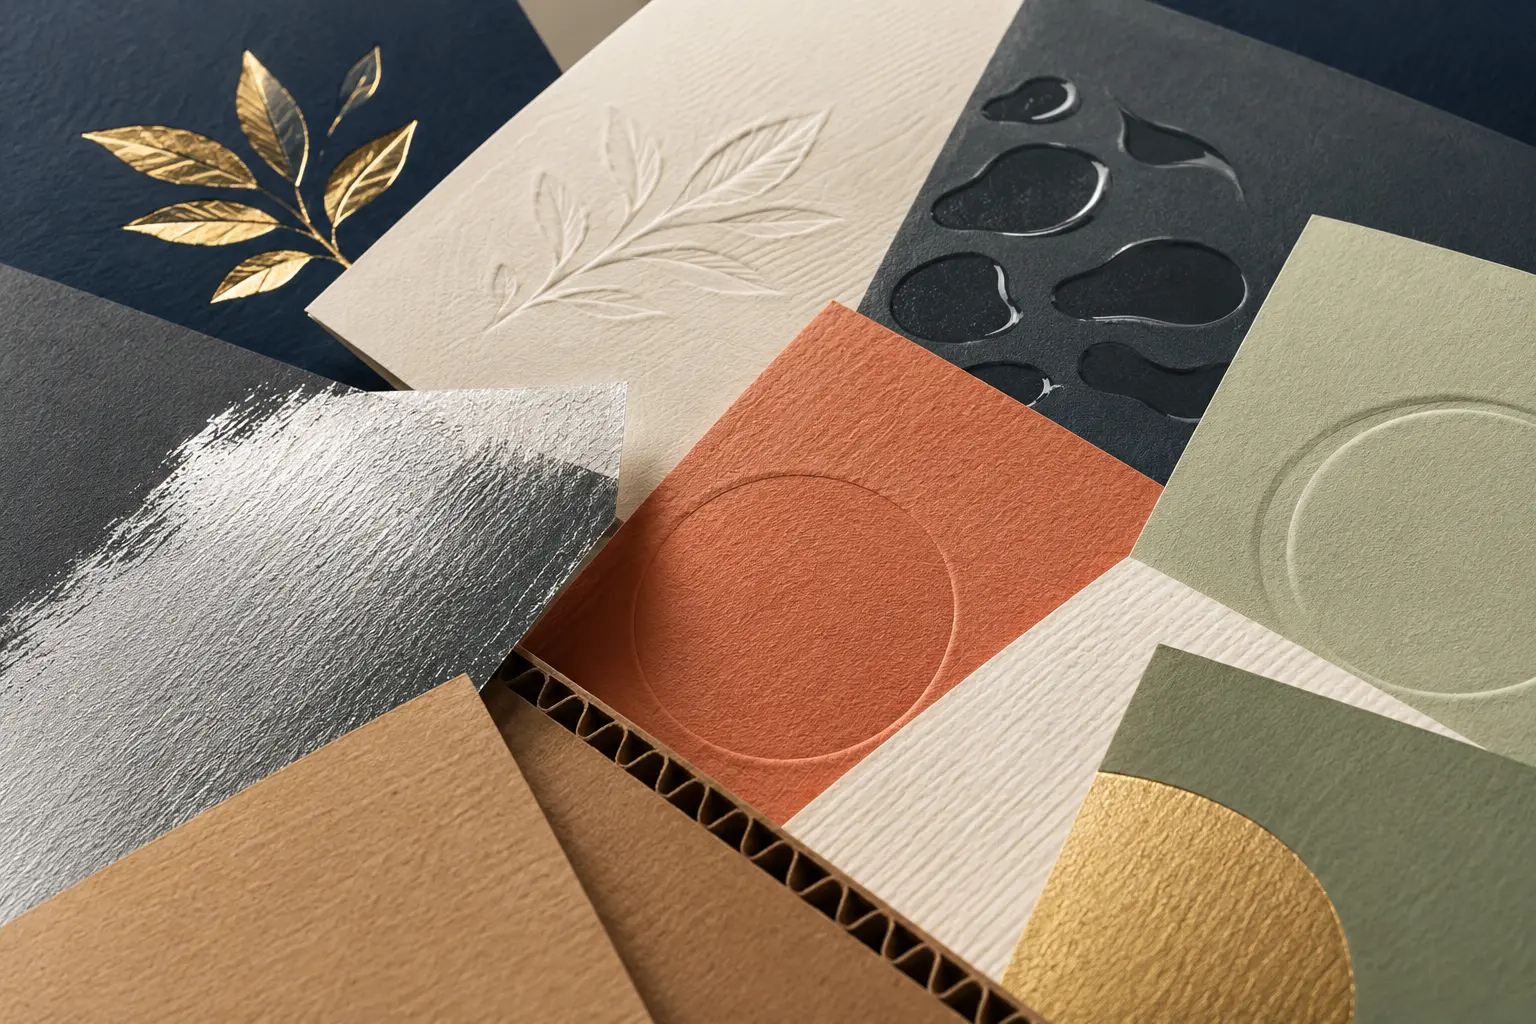
Ask for physical material samples when color, texture or stiffness is
important. A screen cannot accurately show paper feel, foil reflection
or the difference between matte and gloss finishes.
Step 5: Decide on
printing and finishes
Printing and finishes should support the brand rather than compete
with it. Common choices include:
- CMYK printing for full-color artwork and photography
- Pantone spot colors for more controlled brand colors
- Matte or gloss lamination for surface protection and appearance
- Foil stamping for metallic details
- Embossing or debossing for tactile depth
- Spot UV for selective gloss contrast
- Die-cut windows for product visibility
Each extra process can add cost, setup time and quality-control
points. If the budget is limited, focus first on box structure, material
and clear artwork. One well-chosen finish is often more effective than
several finishes used together.
Step
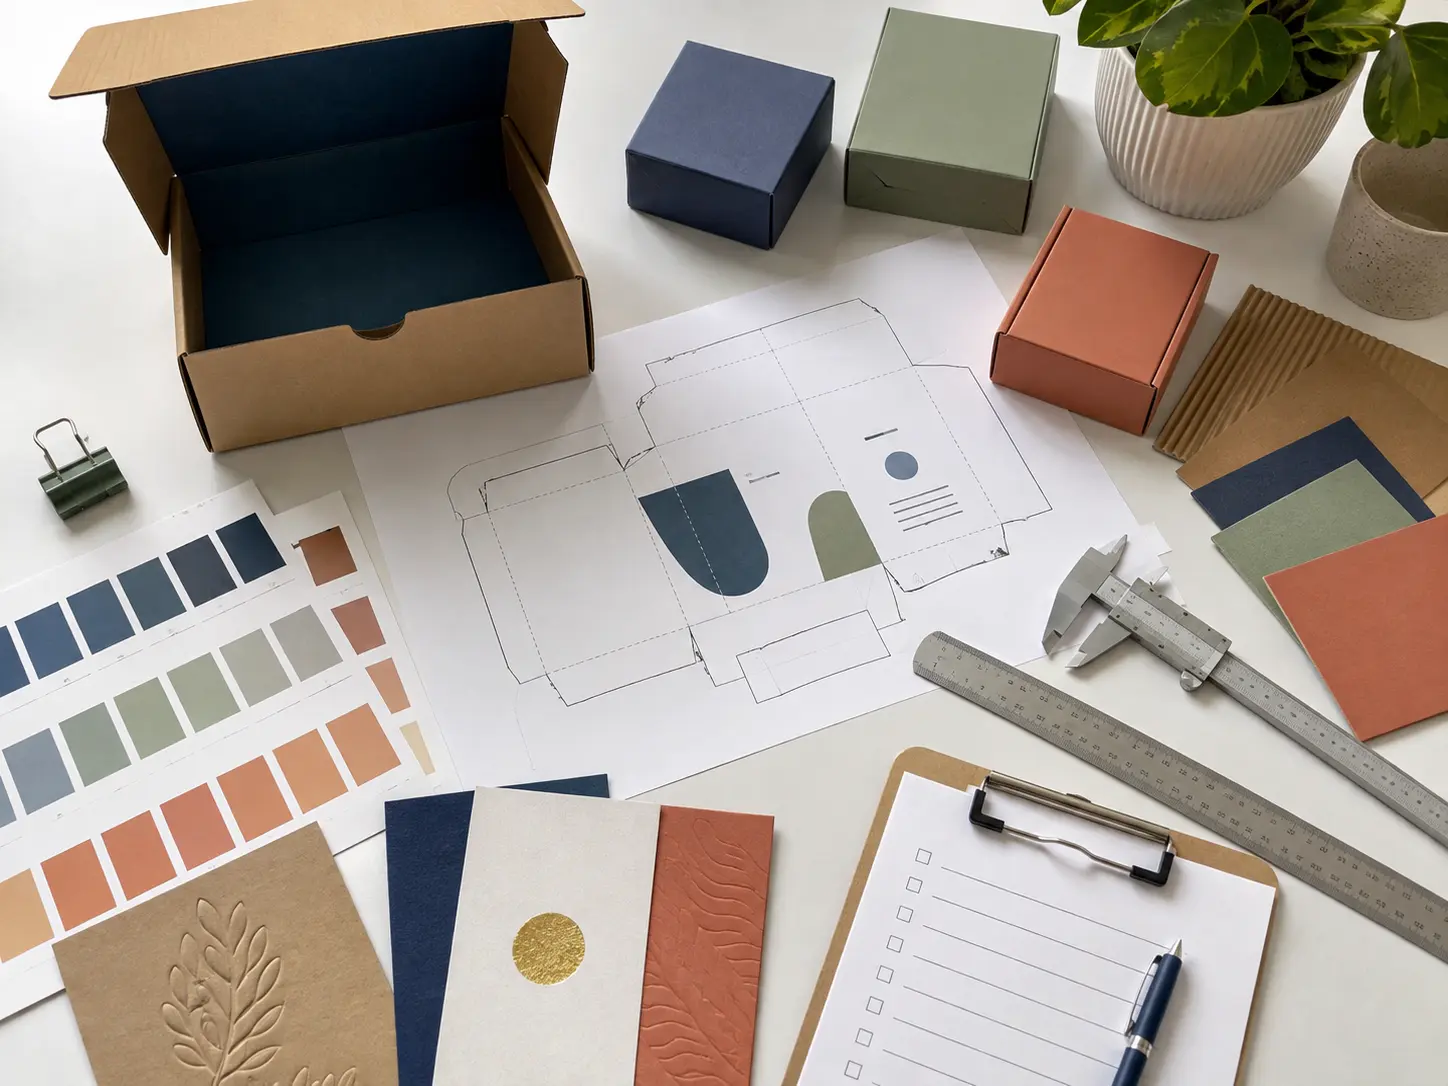
6: Create the dieline and prepare print-ready artwork
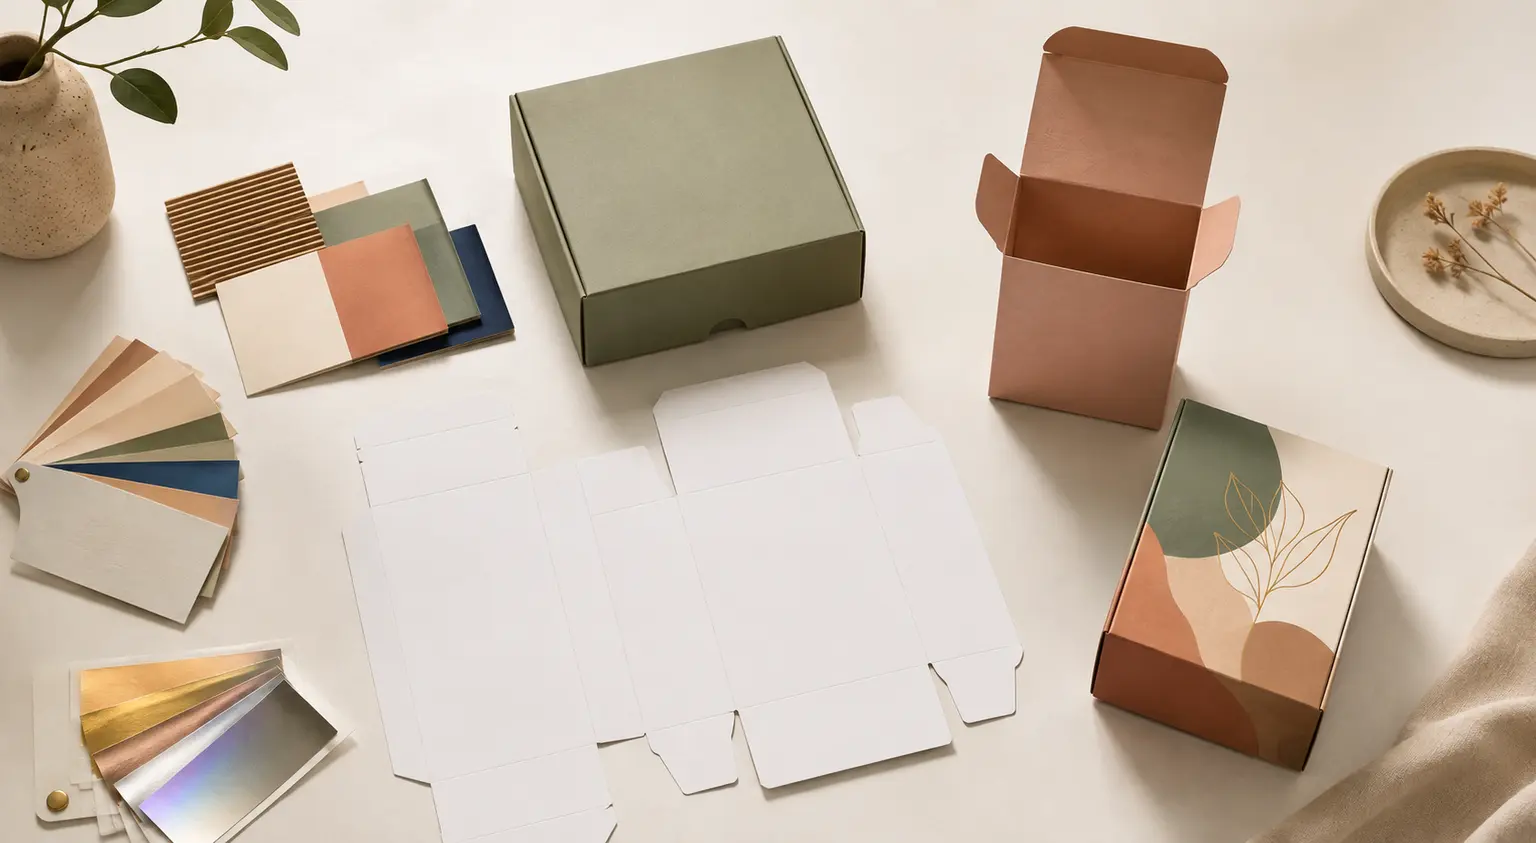
A dieline is the flat technical template of the box. It shows cut
lines, fold lines, glue areas and artwork panels. The dieline should be
based on the final box dimensions and material thickness.
Before submitting artwork, check that:
- The artwork uses the correct dieline version.
- Important text and logos stay inside the safe area.
- Background colors and images extend into the bleed area.
- Images have sufficient resolution for print.
- Fonts are outlined or packaged correctly.
- Colors are prepared in CMYK or the agreed Pantone system.
- Barcodes are large enough and have adequate contrast.
- Dieline guides are not set to print as part of the design.
Request a final digital proof after artwork review. The proof should
confirm content placement, spelling, orientation, colors and finishes
before sampling.
Step 7: Make and
review a physical sample
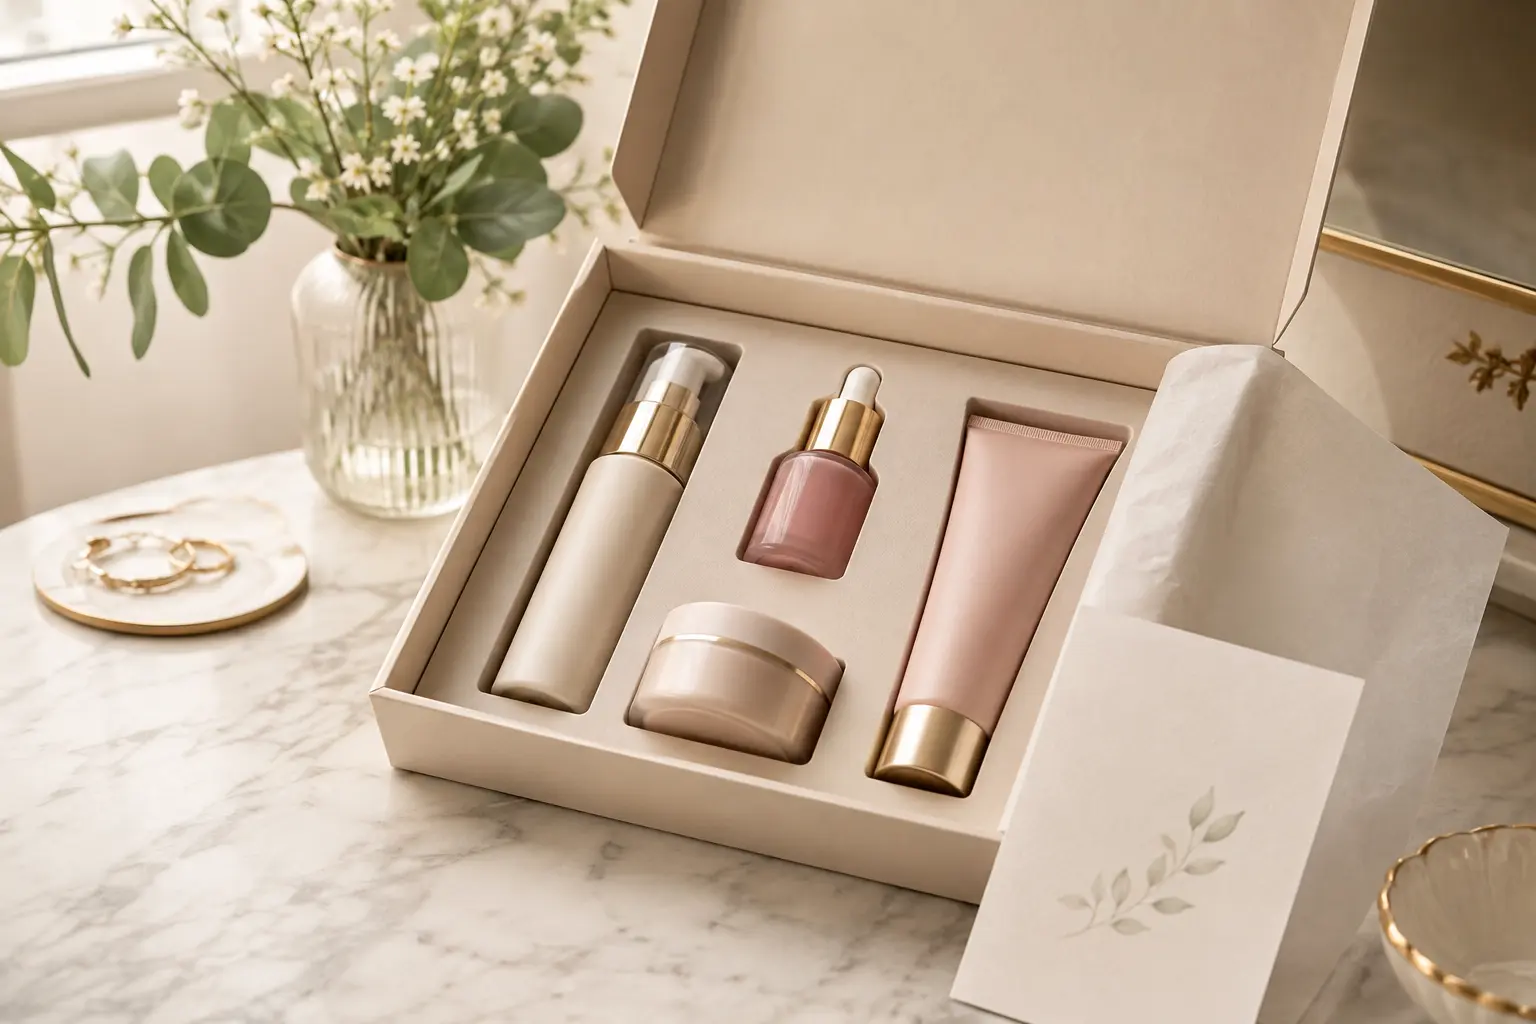
A physical sample is the best way to confirm the structure, fit and
overall presentation before mass production.
Depending on the project stage, you may use:
- Blank sample: Checks dimensions, structure and
product fit without final printing. - Digital printed sample: Shows the general artwork
and color appearance with a shorter setup process. - Production-level sample: Uses materials and
processes closer to the intended mass-production specification.
Use a repeatable sample approval checklist:
- Place the actual product and all accessories inside the box.
- Check that the product is secure but easy to remove.
- Confirm the box opens, closes and assembles correctly.
- Measure the finished dimensions.
- Review spelling, barcode, artwork position and orientation.
- Compare brand colors under consistent lighting.
- Inspect lamination, foil, embossing, edges and glue areas.
- Test packing and unpacking several times.
- Photograph and record every approved detail.
Do not approve a sample based only on photographs when fit, texture
or color accuracy is critical. If you request a change, update the
specification and artwork version so everyone is working from the same
information.
Step 8:
Confirm production, quality checks and delivery
Before production begins, create one final approval record that
includes:
- Box style and dimensions
- Material and thickness
- Printing colors
- Surface finishes
- Insert specifications
- Approved artwork version
- Approved sample photos or sample reference
- Quantity and allowed quantity tolerance
- Packing method
- Carton marks
- Delivery address and required date
Quality checks should cover materials, printing, finishing,
dimensions, assembly and packing. For complex projects, you can request
progress photos, videos or a pre-shipment inspection report.
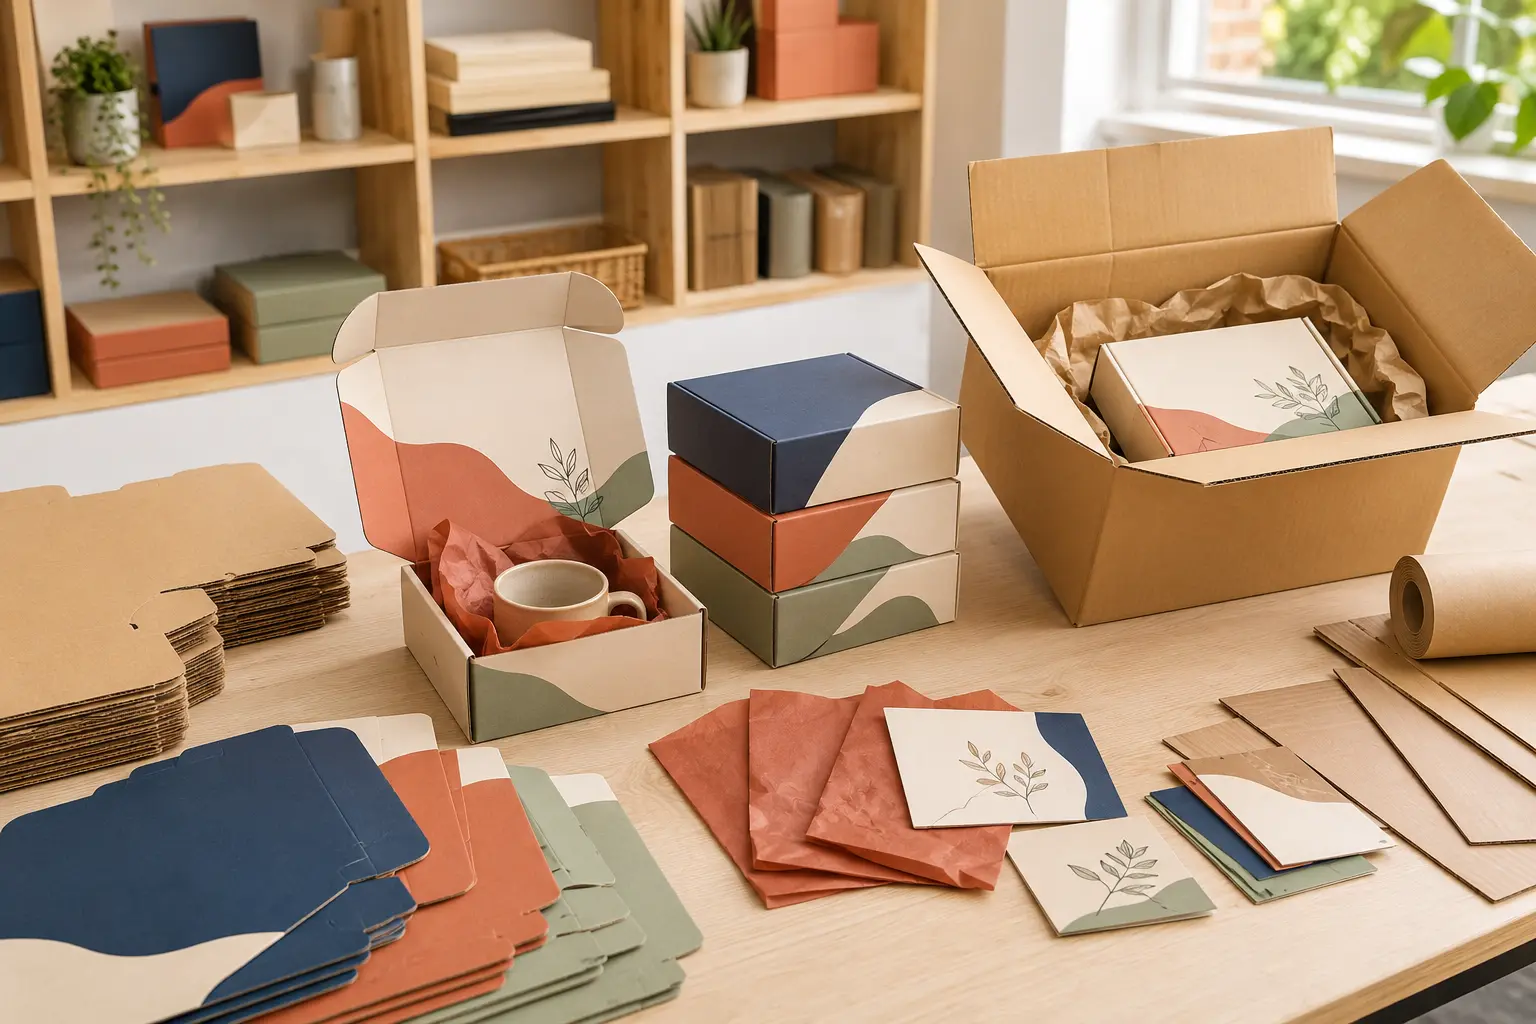
Also confirm how the boxes will be packed for transport. Rigid boxes
take more shipping space, while folding cartons and many mailer boxes
can be delivered flat. The best delivery option depends on order volume,
destination, storage space and how quickly the packaging will be
used.
A realistic project timeline
Every project is different, but a typical custom packaging timeline
may include:
- Initial recommendation and quotation: 1–3 working days
- Dieline and artwork adjustment: 2–5 working days
- Sample production: approximately 5–10 working days
- Sample delivery and approval: depends on destination and revision
rounds - Mass production: commonly 15–30 working days after final
approval - Shipping: depends on the destination and selected method
These ranges are planning references, not guaranteed lead times.
Materials, finishes, quantity, seasonal workload and design revisions
can all affect the schedule. Build extra time into a new product launch
instead of scheduling packaging to arrive at the last possible
moment.
Common mistakes to avoid
Designing before
the structure is finalized
Artwork created on an estimated template may need to be rebuilt when
dimensions or materials change. Finalize the dieline first.
Choosing the smallest
possible box
A very tight fit can make packing difficult and damage the product or
box. Allow space for inserts and practical assembly.
Approving color only from a
screen
Screens use light, while printing uses ink on a physical material.
Request printed color references when color accuracy matters.
Adding too many premium
finishes
Multiple finishes can increase cost without improving the design. Use
finishes to create a clear focal point.
Ignoring shipping and
storage
Ask about packed carton dimensions, gross weight and whether the
boxes are delivered flat or assembled. Packaging cost is only one part
of the total landed cost.
Making unrecorded changes
Confirm every revision in an updated artwork file or specification
sheet. Verbal changes are easy to misunderstand.
Custom packaging checklist
Before requesting a final quotation, confirm as many of these items
as possible:
Frequently asked questions
What
information is needed to quote custom packaging boxes?
The most useful details are the box style, dimensions, material,
quantity, printing, finishes, insert requirements and delivery
destination. Reference photos and product dimensions also help when the
structure is not finalized.
What is a packaging dieline?
A packaging dieline is a flat technical drawing that shows where the
box will be cut, folded and glued. Designers place the artwork on this
template before printing.
Should I order a
sample before mass production?
Yes, especially for a new structure, premium packaging or a product
that requires a precise fit. A sample helps identify structural, artwork
and finishing issues before the full order is produced.
How can I reduce
the cost of custom packaging?
Use an efficient box size, choose materials based on actual
protection needs, limit unnecessary finishes, reduce the number of
artwork variations and compare flat-packed versus assembled delivery.
Ask for alternative specifications rather than reducing quality without
a plan.
What is the typical
minimum order quantity?
Minimum order quantity depends on the box type, dimensions, materials
and printing processes. For many custom projects, planning around 1,000
pieces per design provides a practical starting point, but the exact
minimum should be confirmed for each specification.
Ready to plan your custom
packaging?
A clear brief, correct dieline and approved sample can prevent most
packaging problems. Cowin Packaging helps growing brands coordinate box
structure, materials, artwork, sampling, production and delivery as one
practical packaging solution.
Send us your product dimensions, target quantity, reference images
and delivery destination. We will help you identify the next step and
provide a clear quotation.